The Desk
Sun 08 November 2015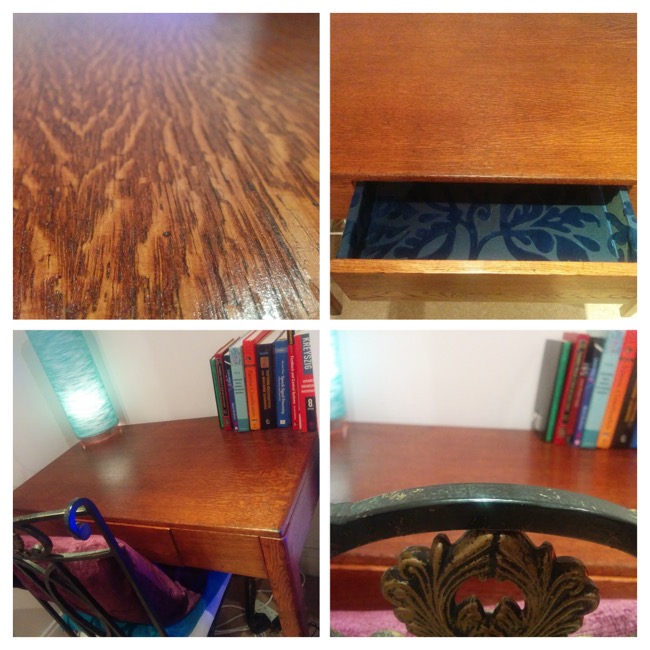
A few months ago I bought a desk. It was the end of a long and consuming search to find one I liked that would fit in the 105cm wide alcove in my living room.
A combination of things meant I decided it would be a good idea to refinish the desk. I thought I could do it in a weekend. "Sanding can't take that long," I thought, wild with naïveté.
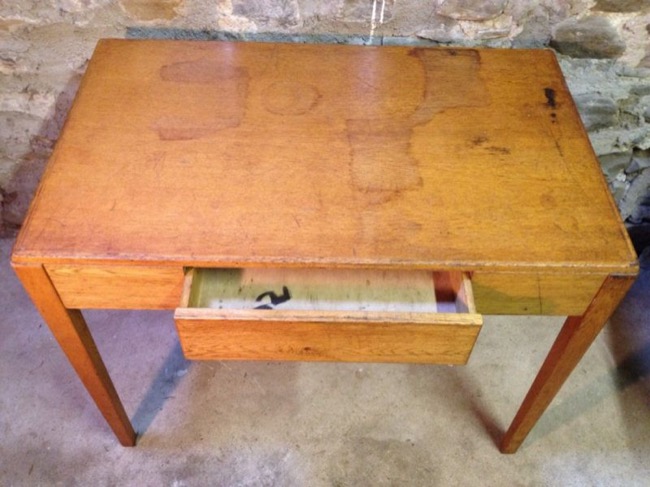
The desk before I began my long struggle to beautify it
Turns out sanding takes a very long time! Even with an electric sander. Welp. This project became a bit of a pain – and I couldn't abandon it, not once I had started to remove the finish from the wood! Also, my sander was so loud I had to wear earplugs, meaning I couldn't sand any time I wanted. I had neighbours and a flatmate to consider! This made progress even slower than it might have been.
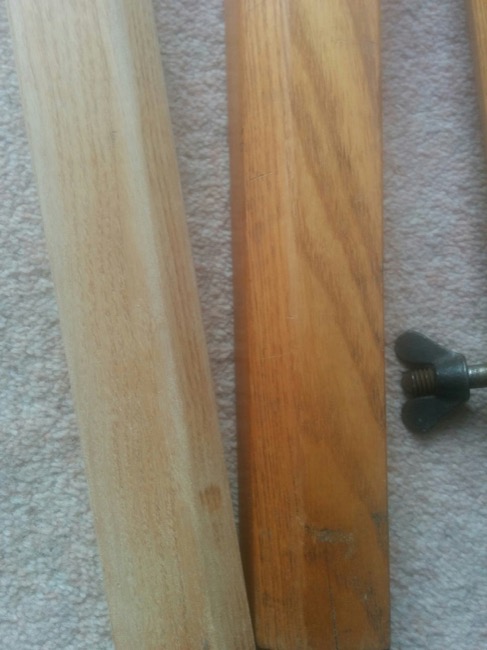
Slow progress
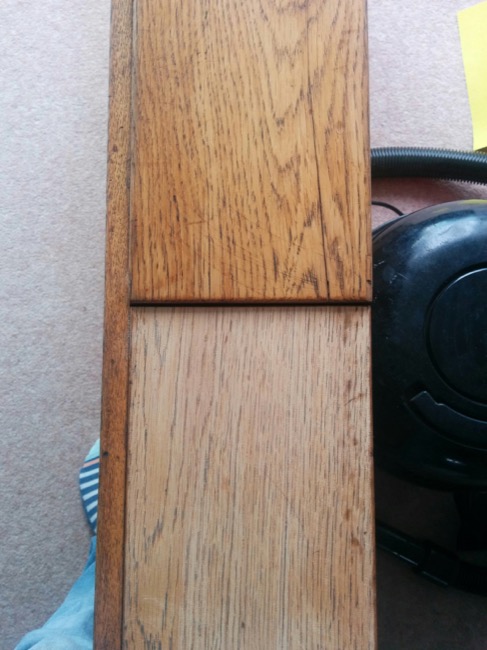
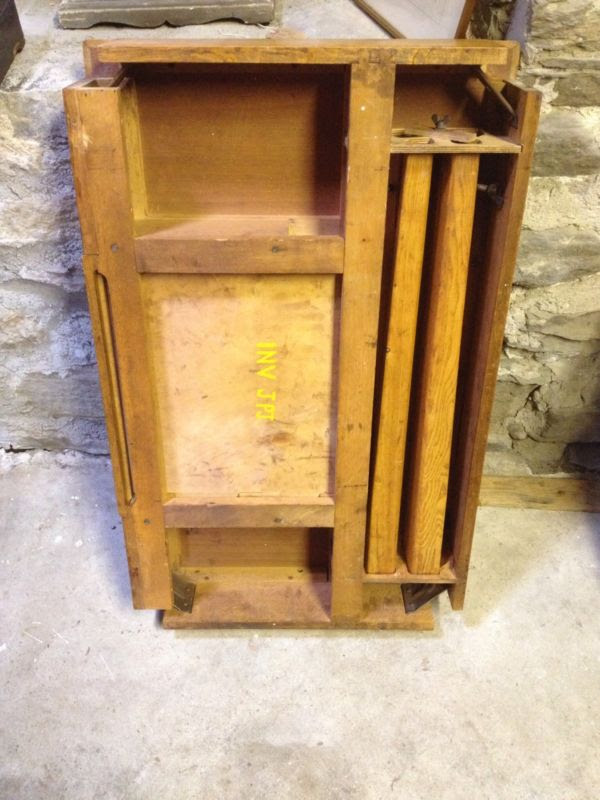
The desk is quite a cool design. The legs screw on and off, and there's a hollow in the desk where they can be stored. It makes it easy to transport! I appreciate this.
Eventually, after many weekends of sanding, I decided I was ready to apply stain. My aim was to have it match the wee table and unit in my living room.
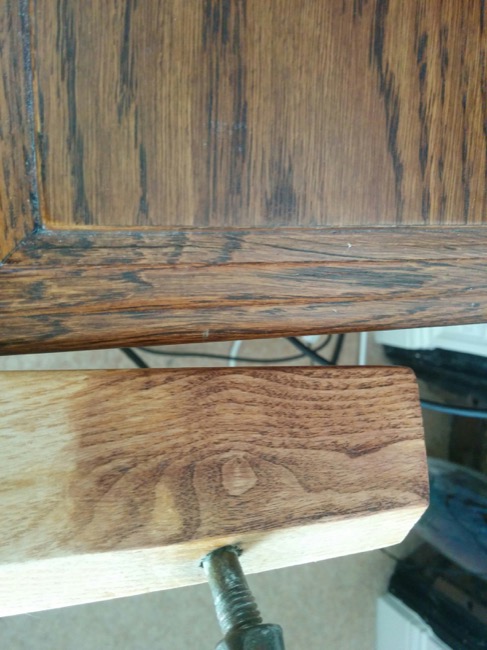
I decided the stain looked good enough. It was time to get down to business!
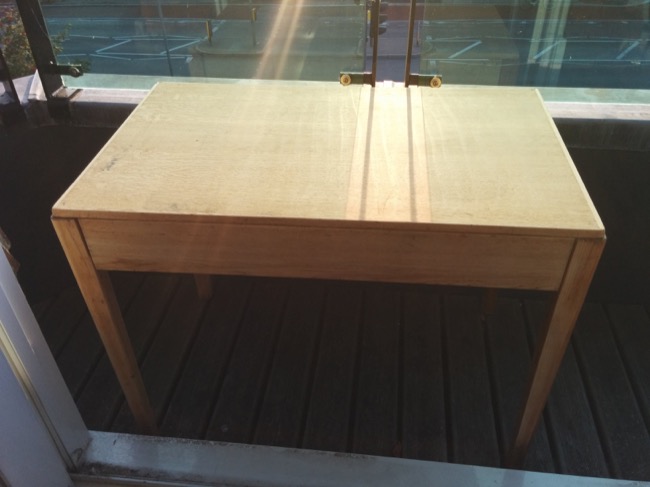
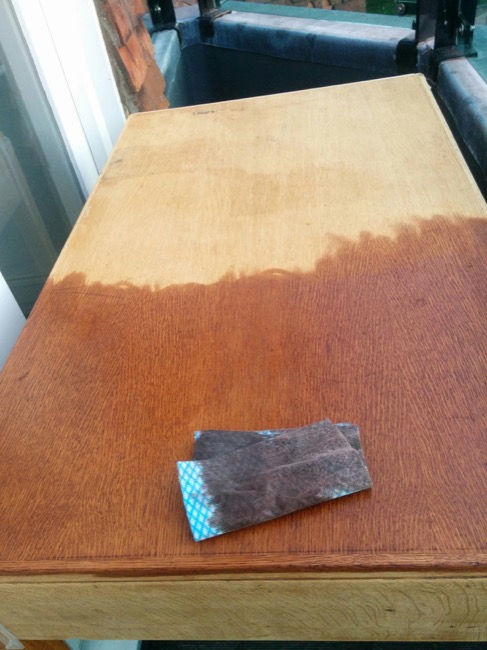
Another thing that slowed me down was my lack of a proper workspace. One goal for the next place I live is to have a garage or workshop! I had to apply the stain on my balcony. There wasn't much space, and I had to wait for a dry day. Despite applying it outside, the living room still smelled strongly of solvents for a few hours. Much appreciation to my flatmate for putting up with this.
The stain took really well to most of the wood – apart from the front! I clearly hadn't sanded enough, and so some finish was left on the wood. Reluctantly I sanded it again, and applied the stain once more. I'm so glad I bothered to do so.
Unfortunately, after staining there was still a long way to go. Not a lot of work, true; but a lot of time. I'd had oil finishes recommended to me for their low-lustre, natural looking finish. I used Rustin's Danish Oil. I'm not sure I would use it again. It was quite difficult to apply correctly. I don't think I wiped enough of the excess off. On the last coat I applied it with fine steel wool, and this made a huge difference. The finish evened out, and felt so much smoother.
I applied three coats to the wood, and an extra one on the top surface. Once they were all completely dry, I used a Howard's Feed 'n' Wax to polish the wood. I'm glad I bothered with this extra step. The wood felt even better afterwards!
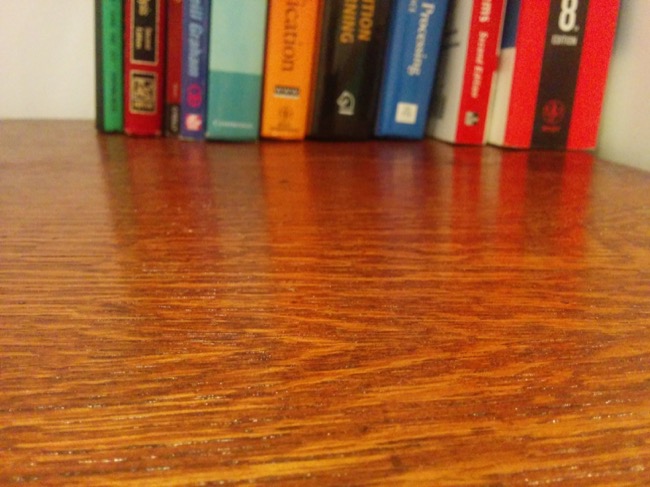
I took some time to admire the grain. It came out so well! However, I had one task left before my desk was complete: lining the drawer.
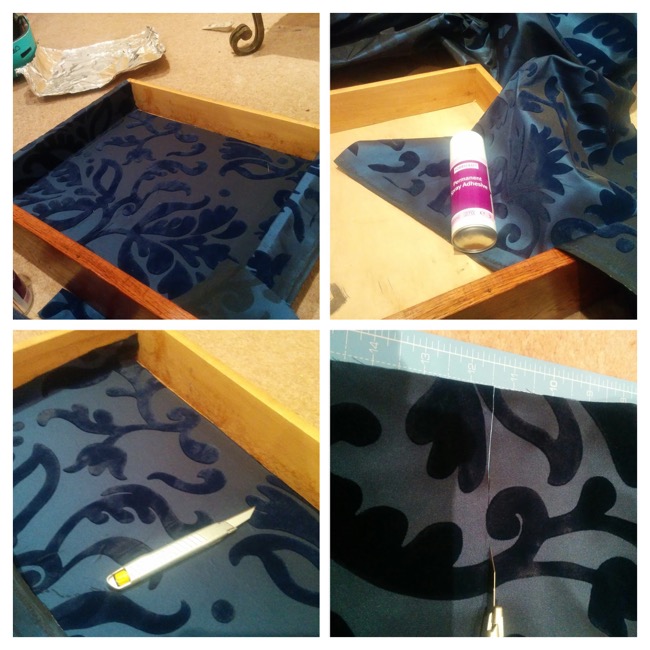
I had some flock fabric I'd bought ages ago and never used. I used spray adhesive and a Stanley knife to cut the fabric to size, and voila! A luxurious drawer was created.
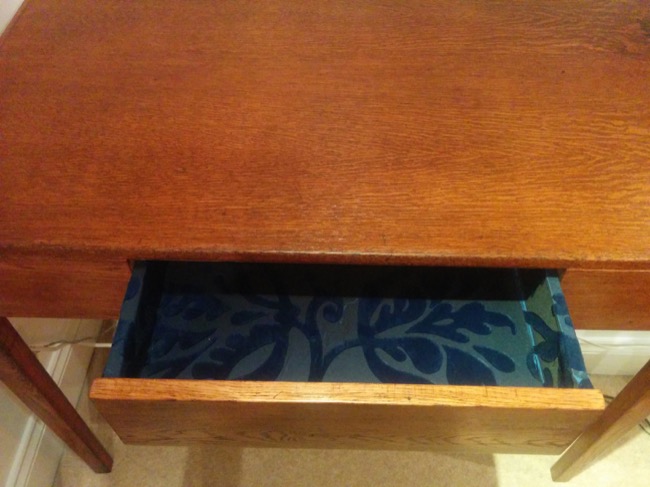
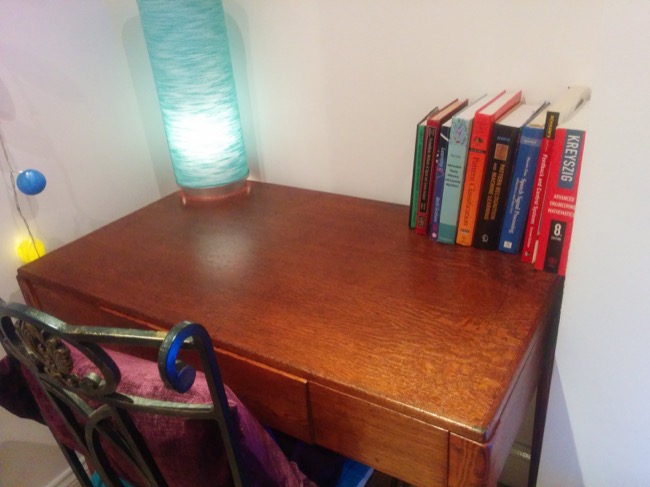
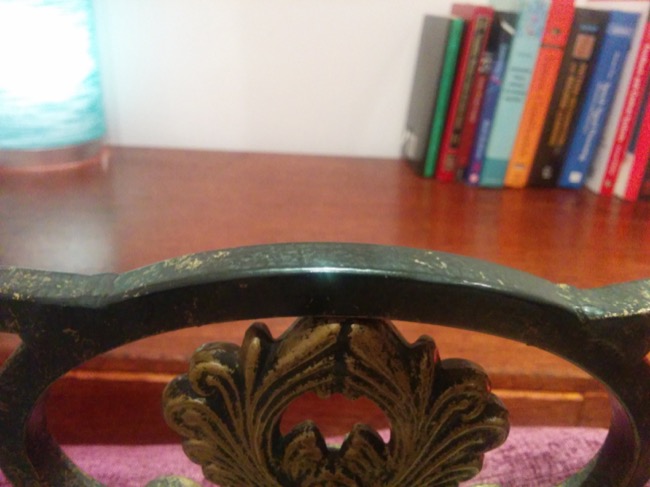
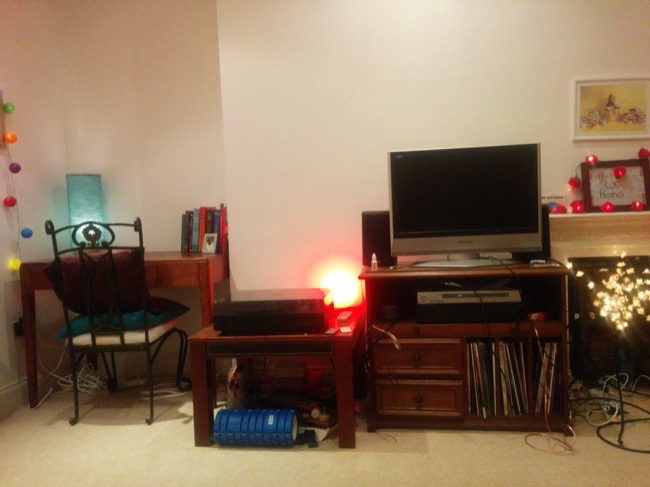
My desk was now finished, at long, long last! Here are some of the many photos I took. Look how well it matches the other furniture! (It's not perfect, but it's good enough for me.)

 :::
:::
:::
:::
